Fixing Water Damaged Shower Walls: Tips and Techniques
Introduction
Water damage can be a homeowner’s worst nightmare, especially when it comes to shower walls. The combination of moisture and steam can lead to issues like mold growth, peeling paint, and even structural damage. You might find yourself wondering, “How do I deal with this?” Luckily, we’ve got some solid tips and techniques for fixing water damaged shower walls. Whether you’re planning to tackle the problem yourself or calling in a plumber near me, understanding the process can save you time, money, and stress.
Fixing Water Damaged Shower Walls: Tips and Techniques
Water damage doesn’t happen overnight; it often builds up over time due to leaks or inadequate ventilation. If your shower walls are showing signs of water damage, you’re not alone! Let’s dive into some practical solutions that will help restore your bathroom’s beauty.
Identifying Signs of Water Damage
What Should You Look For?
Before you roll up your sleeves and start any repairs, it’s crucial to identify the signs of water damage:
- Peeling or Bubbling Paint: If the paint on your shower walls is bubbling or peeling away, that’s a clear sign of moisture trapped underneath.
- Mold Growth: Spotting black or green spots? That’s mold! It thrives in damp environments.
- Soft or Warped Wallboard: If you press against the wall and it feels soft or gives way easily, it may be time for a replacement.
- Unpleasant Odors: A musty smell often indicates hidden mold or mildew.
Knowing these signs allows you to Pembroke Pines FL leak detection understand the severity of the problem before proceeding.
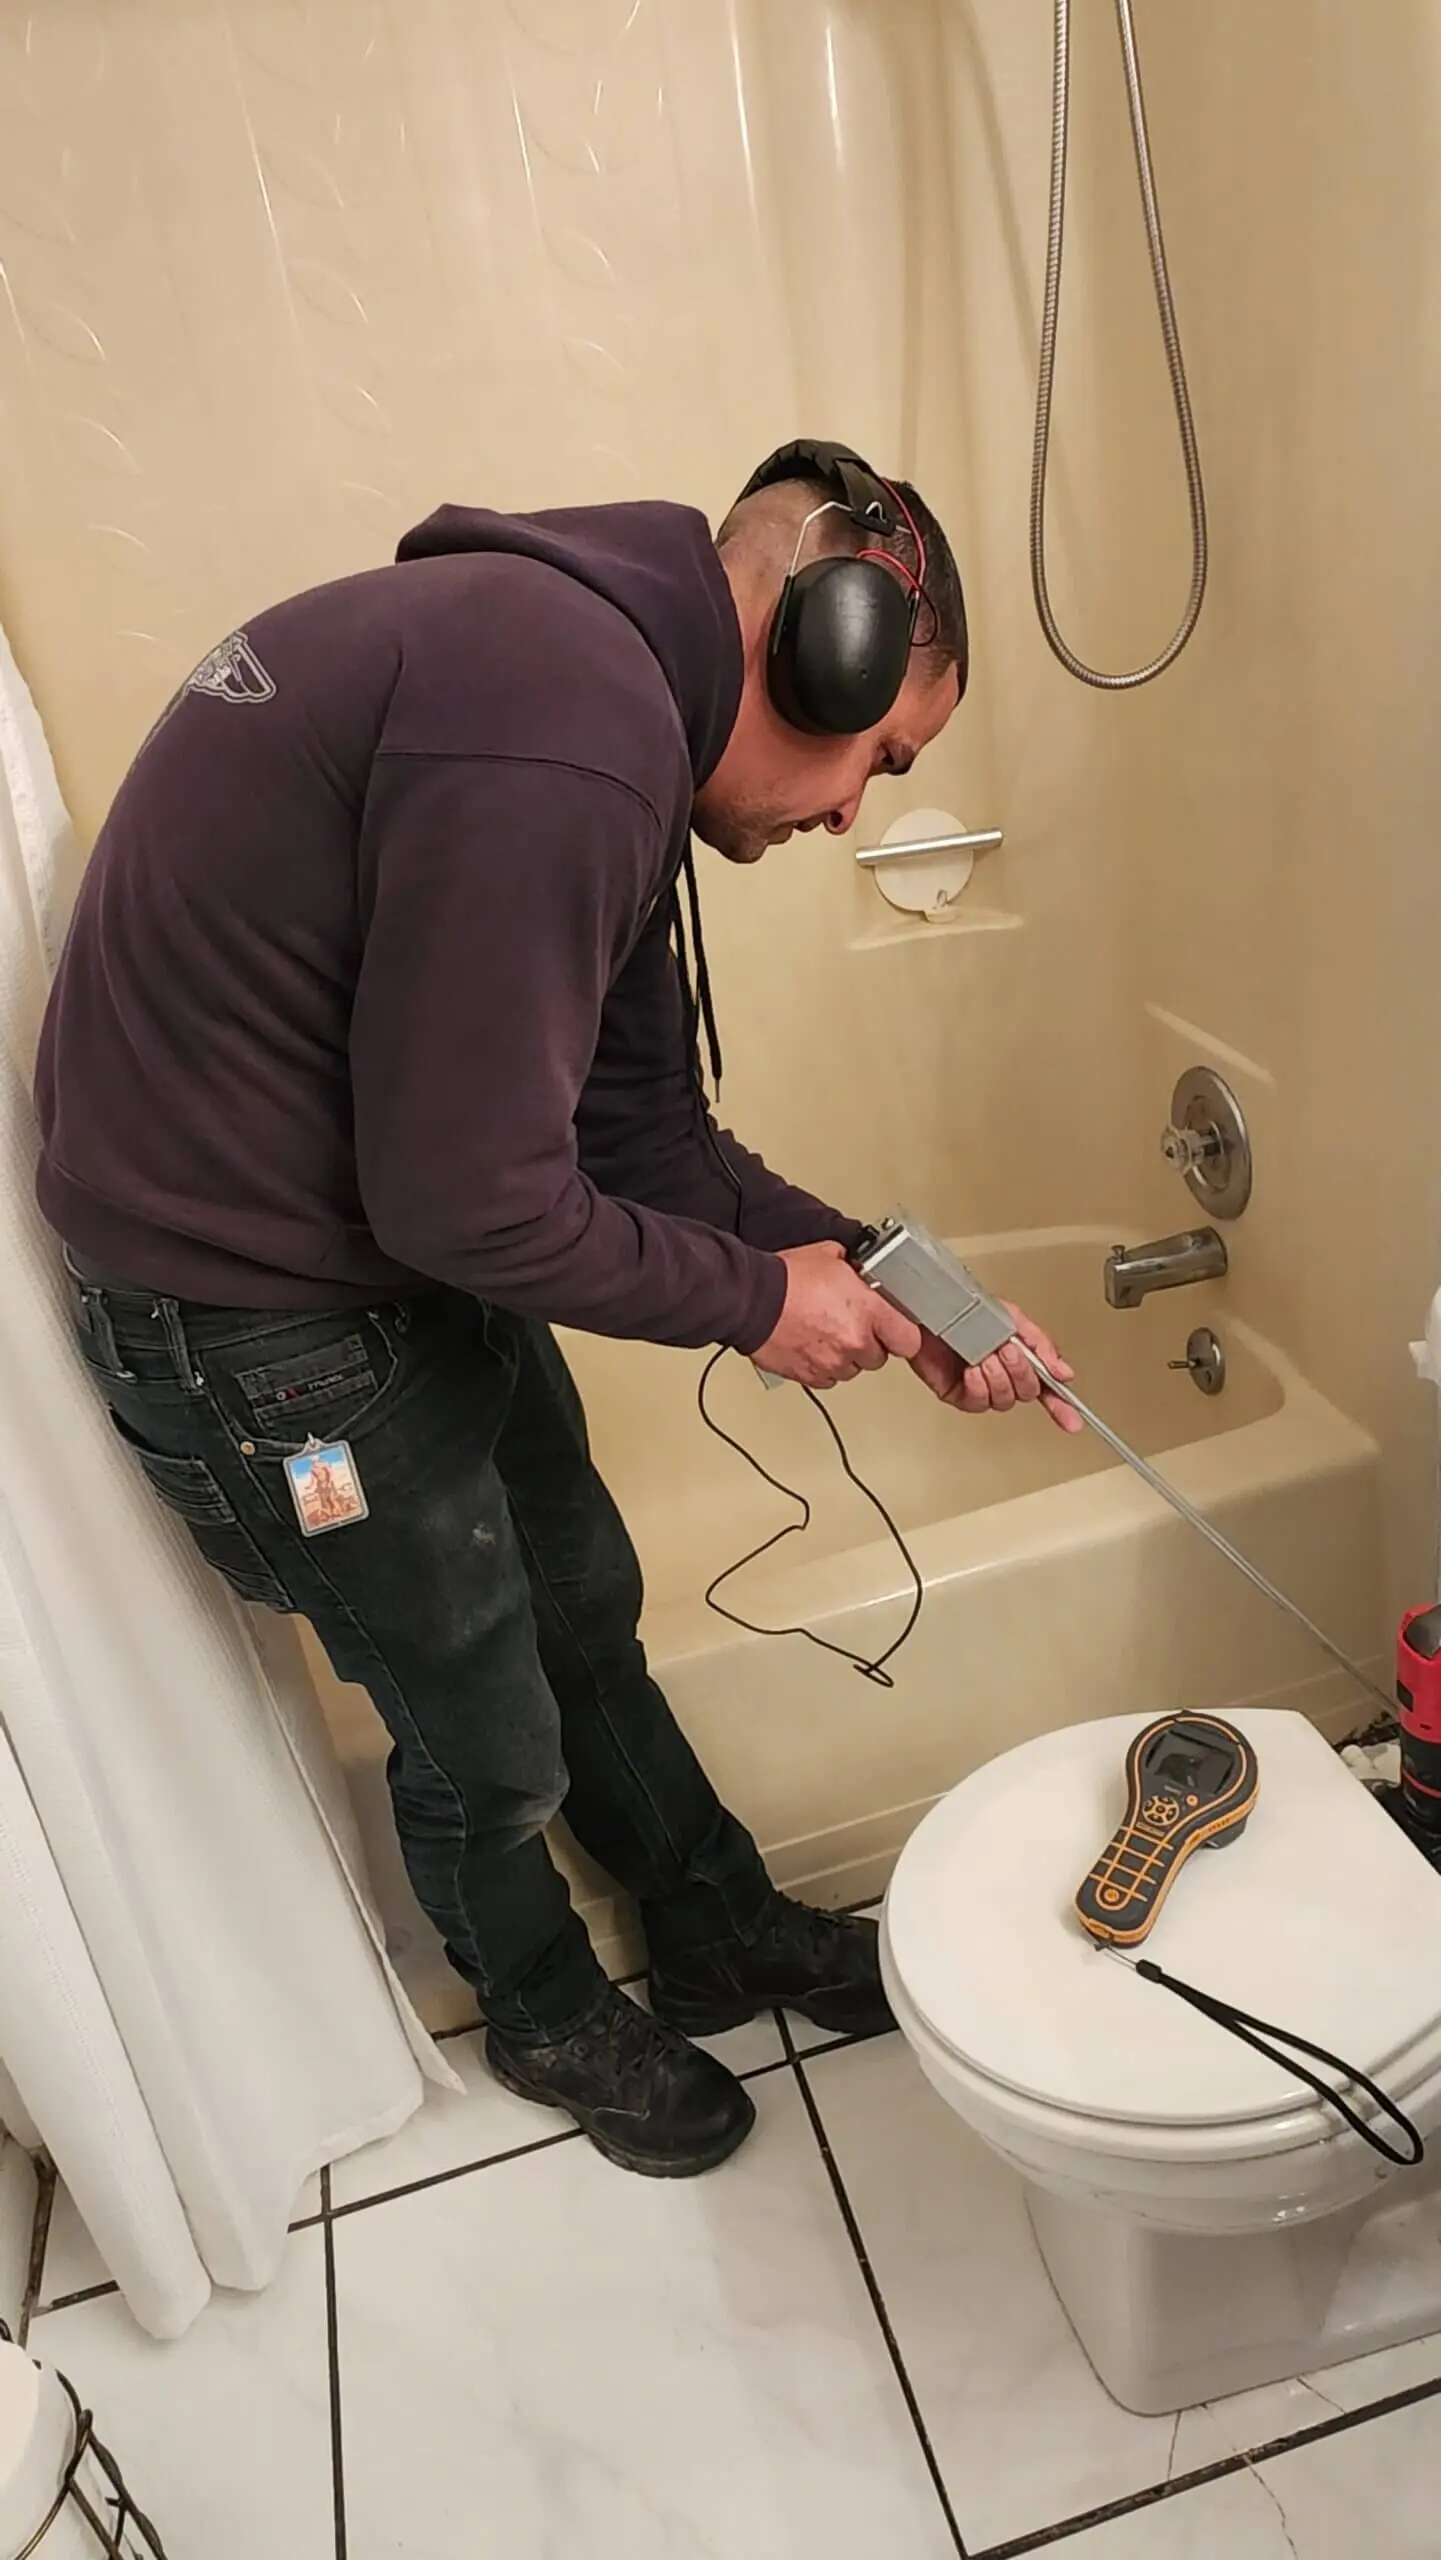
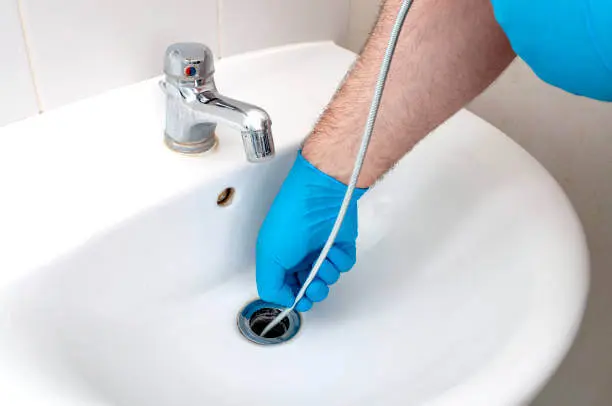
Finding the Source of Leaks
How Do You Detect Where It's Coming From?
Once you've identified the damage, it's essential to locate its source. Here are steps to find leaks effectively:
Gathering Necessary Tools and Materials
What Will You Need?
Preparing for repairs means gathering all necessary materials beforehand:
- Caulk gun
- Mold-resistant paint
- New drywall (if needed)
- Tile adhesive
- Grout
- Safety gear (gloves, goggles)
Having everything ready will streamline the process when you're knee-deep in repairs!
Preparing Your Work Area
How Should You Set Up?
Before getting hands-on with repairs:
A clean workspace is essential for safety and efficiency!
Removing Damaged Materials
What Are the Steps?
Now comes the nitty-gritty part—removing damaged materials:
Be cautious during this step; sharp tools can lead to accidents!
Replacing Drywall: A Step-by-Step Guide
How Do You Replace Drywall?
If you've found substantial damage behind your tiles:
This step requires patience but ensures durability.
Dealing with Mold: Eradication Techniques
How Do You Get Rid of Mold?
Mold removal isn’t just about cleaning; it requires specific techniques:
- Mix equal parts vinegar and water in a spray bottle for natural eradication.
- Use commercial mold removers if needed (follow instructions carefully).
Always wear protective gear during this process!
Applying New Tiles: A DIY Approach
What’s Involved in Tiling?
Ready to put things back together?
Tiling can be tricky but rewarding!
Grouting Like a Pro: Tips for Success
How Do You Apply Grout Properly?
Once tiles are set:
Proper grouting prevents moisture from seeping into spaces!
Painting Water Resistant Walls: Best Practices
What Kind of Paint Should You Use?
Once everything is set:
- Choose mold-resistant paint designed for bathrooms.
- Apply primer first if switching colors significantly; this helps with adhesion.
Paint adds protection against future water damage!
Sealing Your Shower: The Importance of Caulk
Why Is Caulking Essential?
Caulking is often overlooked but plays an essential role in preventing leaks:
A good seal can save you from future headaches!
FAQs About Fixing Water Damaged Shower Walls
Q1: How long does it take to fix water-damaged shower walls?
A1: Depending on severity, repairs can take anywhere from a few hours to several days—especially if replacements are necessary.
Q2: Can I do this myself or should I hire an emergency plumber?
A2: If you're handy and have experience with home repairs, you might manage it yourself! However, complex issues warrant hiring an emergency plumbing service.
Q3: What if my shower walls still feel damp after repairs?
A3: This could indicate hidden issues—consider consulting leak detection experts near me for further evaluation.
Q4: How often should I check my shower for leaks?
A4: Regular checks every six months can help catch problems early before they escalate!
Q5: What's better—tile or fiberglass for shower walls regarding maintenance?
A5: Tiles require more maintenance due to grout lines but offer more style options than fiberglass which is generally easier to clean.
Q6: How do I prevent future water damage after repairing my shower walls?
A6: Ensure adequate ventilation during showers—install exhaust fans as necessary—and regularly check caulking around fixtures!
Conclusion
Fixing water damaged shower walls may seem daunting at first glance; however, with careful planning and execution, it's entirely manageable! Whether you're opting for DIY methods or seeking emergency plumbing services from local plumbers near me, remember that tackling these issues sooner rather than later is crucial for maintaining your bathroom's integrity—and avoiding much larger expenses down the road! So roll up those sleeves; let’s get started on making that bathroom shine again!